How to annotate a website: 4 methods compared
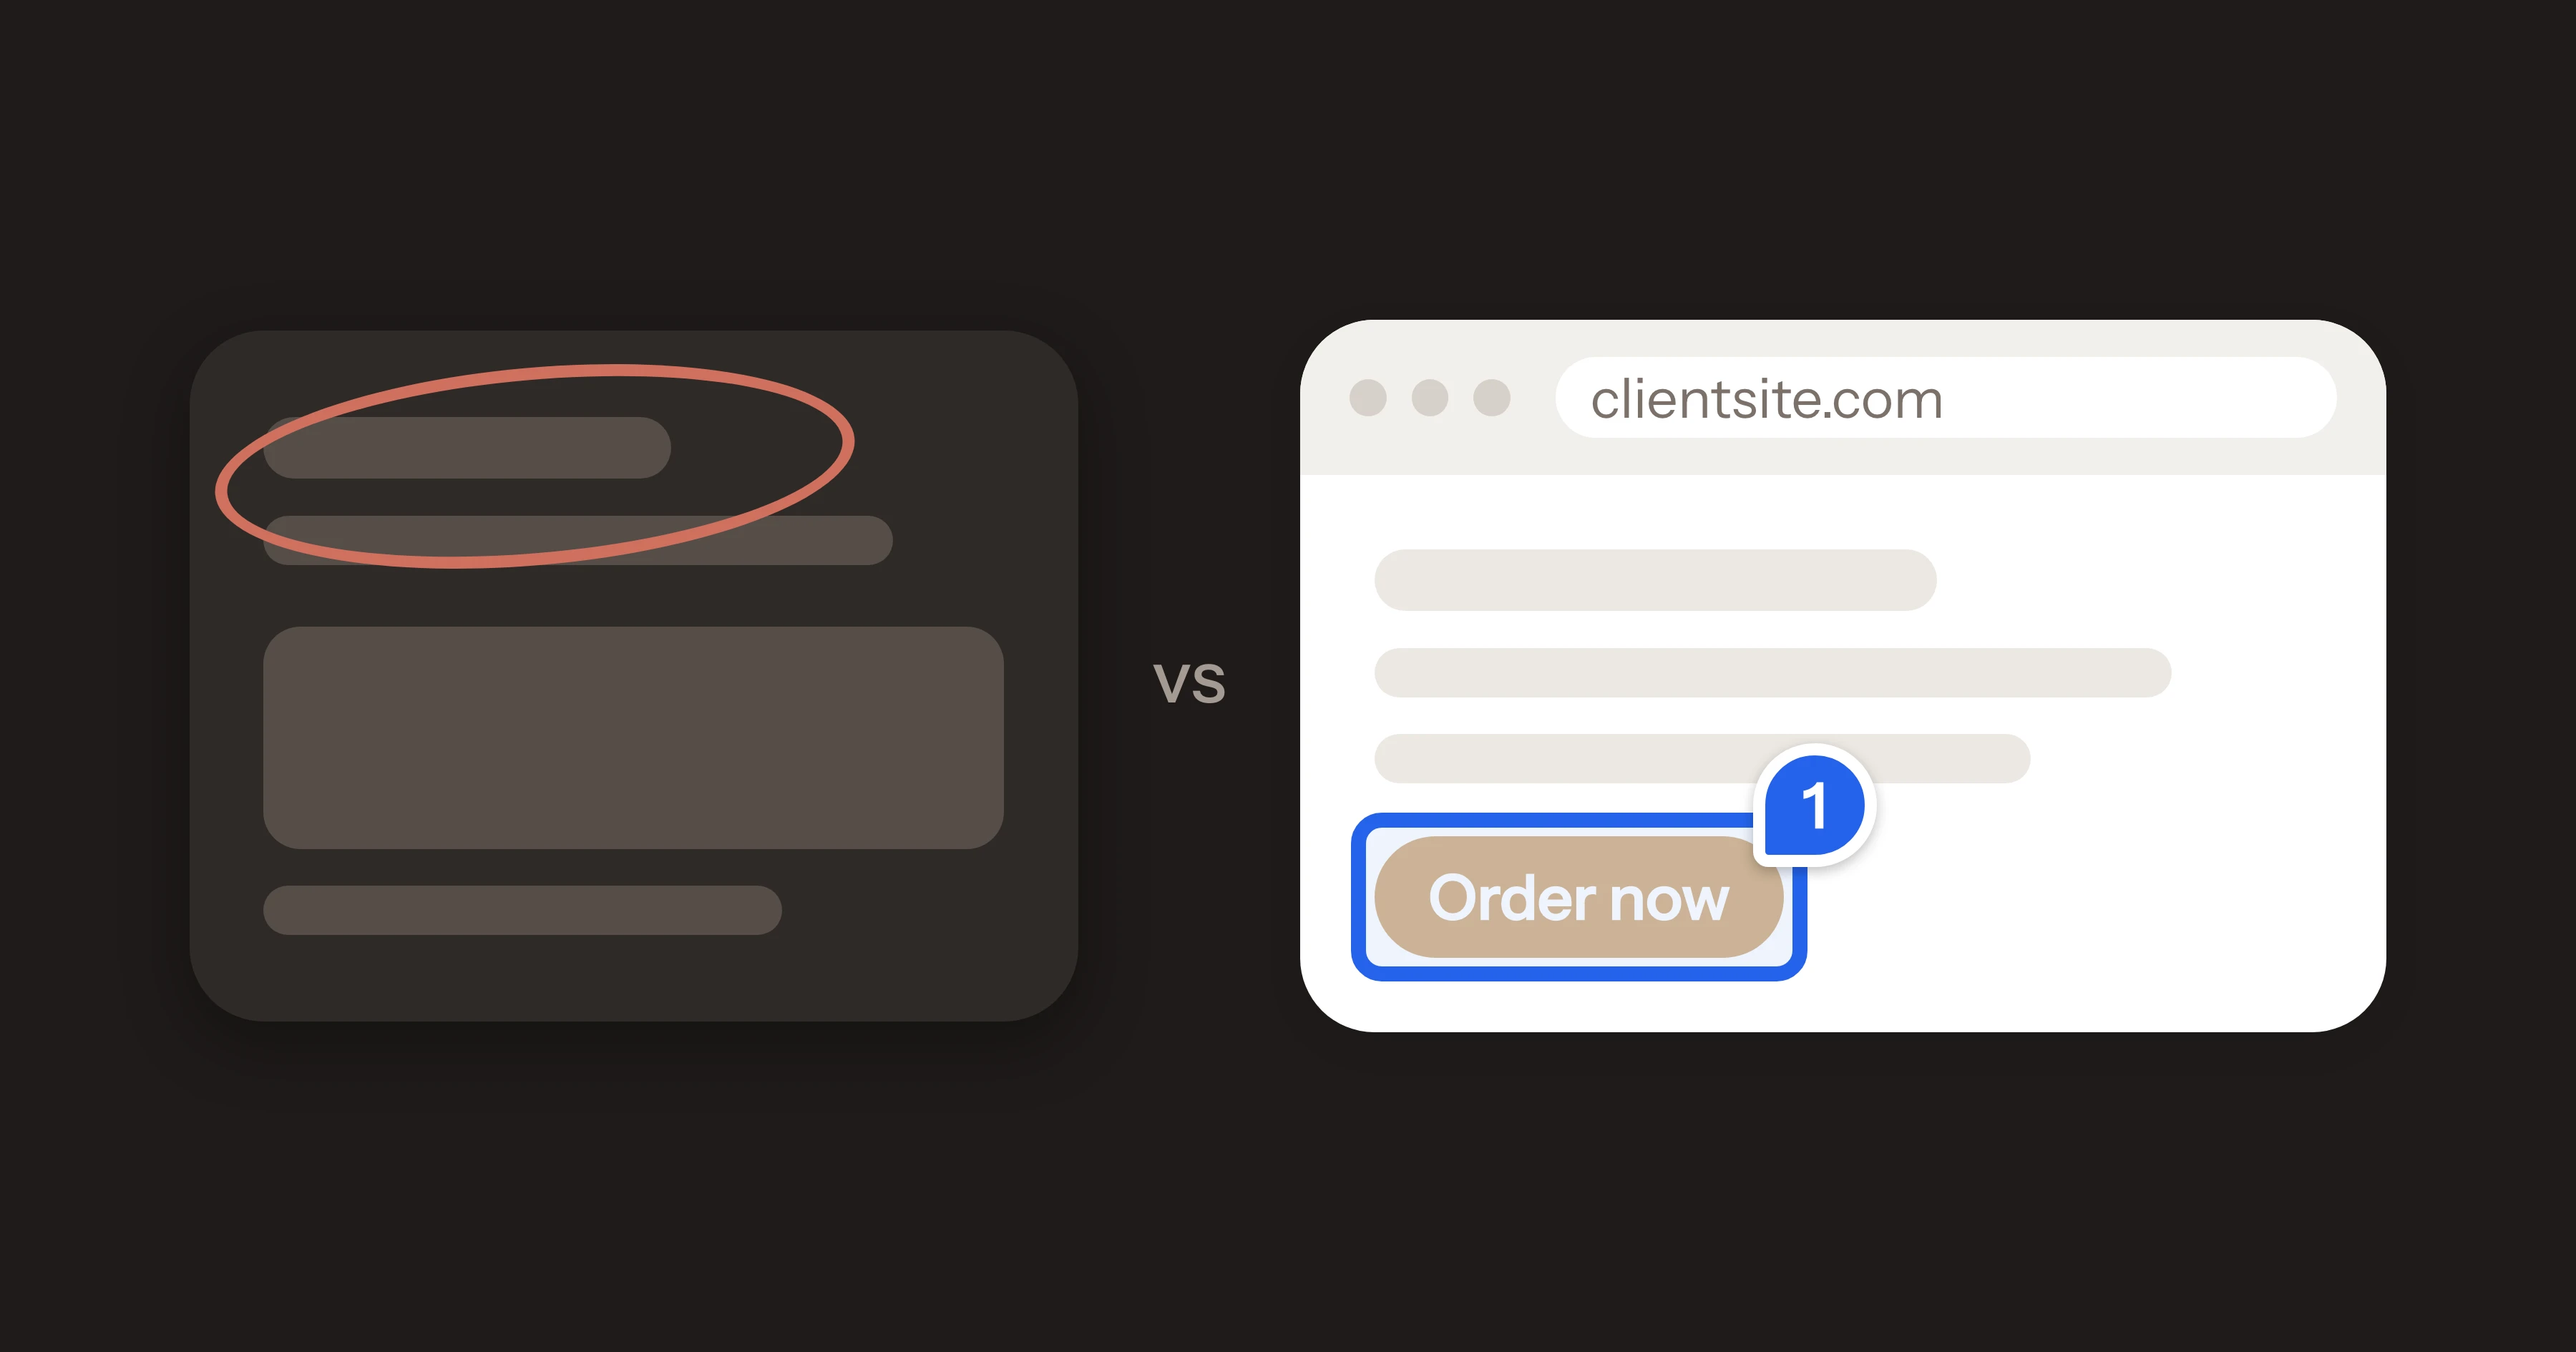
Annotating a website means adding notes directly on top of a web page: circling a button, marking a typo, or pointing at the image that should be swapped. It's the fastest way to say "this, here" about something on screen.
How you do it depends on why. Annotating an article for your own research is a different job from telling a web designer what to change. This guide covers both, with a focus on the second: reviewing a website and getting the changes made.
Method 1: Screenshots with markup
The method everyone already knows. Take a screenshot, draw on it, and send it along.
- On a Mac: press Shift + Command + 4, select an area, then click the thumbnail that appears to draw arrows, shapes and text.
- On Windows: press Windows + Shift + S to open the Snipping Tool, select an area, then open it to draw with the pen or highlighter.
Good for: a quick one-off remark, on any website, with nothing to install.
Not so good for: real reviews. Screenshots end up scattered over emails and chats, they don't say which page they came from or what browser was used, and nobody knows which ones are done. For a single page it works. For a whole site, it turns into a puzzle.
Method 2: Browser extensions for personal notes
Tools like Hypothesis add a layer on top of any web page where you can highlight text and leave notes. You install an extension, create an account, select some text and add your comment. Notes can be private, or shared with a group.
Good for: students, researchers and anyone annotating articles for themselves or a reading group.
Not so good for: website feedback. They're built around highlighting text, not around layout, buttons or images, and the person who has to make the changes rarely uses them.
Method 3: Proxy-based feedback tools
Some feedback tools let you paste any URL and get back a shareable link. The page is loaded through the tool's own server, and reviewers comment on top of it.
Good for: commenting on a site where you can't change the code, such as a competitor's site or a page you don't manage.
Not so good for: pages that depend on logins, forms or scripts, because the page doesn't load straight from the real site. We go deeper into this in JustPin vs Pastel.
Method 4: Click-to-comment on the live site
The site owner adds a small script to the website once. Reviewers open a review link, click any element, and type their comment right there. Each comment is pinned to that exact element, with a screenshot and the technical details attached automatically.
Good for: reviewing websites you build or manage, especially with clients. Feedback stays on the page it's about, in one list, with a status.
Not so good for: sites you can't add a script to.
This is how JustPin works. Regular visitors never see a thing: the script only wakes up inside a review.
The methods side by side
| Best for | Watch out for | |
|---|---|---|
| Screenshots | Any site, nothing to install | Scattered, no context, no status |
| Personal extensions | Notes on articles and research | Not made for layout or design feedback |
| Proxy-based tools | Sites you can't change | Not the real page; logins and scripts can break |
| Click-to-comment | Sites you build or manage | Needs one script tag on the site |
How to annotate a website with JustPin
Here's what reviewing a site with JustPin looks like, from setup to the last fix.
- Add your site. Create a free account and add the website you want reviewed.
- Paste one script tag into the site's
<head>. It works on any website, CMS or framework. - Share the review link. Your reviewer opens it, enters a name and email address, and that's it. No account, no password, no extension.
- Click and comment. The reviewer clicks the element they mean and types what should change. JustPin saves a screenshot with the element outlined, the page, its CSS selector and styles, and the browser and screen size.
- Reply and fix. Your team replies in the thread, discusses details in hidden internal comments, and marks each pin done. Or connect your AI tool via MCP and let it make the fix, reply and close the pin.
Tips for annotations that get things fixed
- One note per issue. Three remarks in one annotation means three tasks with one status.
- Describe the problem, not just the solution. "The button disappears against the photo" helps more than "make it red".
- Be specific about what you expected. "Opening hours should say 8:00 to 18:00" beats "hours are wrong".
- Mention your device if something looks off, or use a tool that records it for you.
More on this in 8 tips for getting useful feedback from clients.
Frequently asked questions
Can I annotate a website without installing anything?
Yes. A screenshot tool that comes with your computer is enough for a one-off note. For ongoing reviews, a script-based tool like JustPin also needs nothing from your reviewers: they open a link in their normal browser and click. Only the site owner adds one script tag, once.
Can I annotate a website I don't own?
With screenshots, a personal annotation extension or a proxy-based tool, yes. A script-based tool like JustPin needs its script on the site, so it's meant for sites you build or manage.
Is there a free way to annotate a website?
Screenshots with your built-in tools are free, and so are personal annotation tools such as Hypothesis. JustPin is free for one site, with unlimited reviewers and pins and no time limit.
What should a good website annotation include?
The exact element, what's wrong with it, and what you expected instead. Ideally also the page, browser and screen size, which a feedback tool captures for you.
Start with one site, for free.
No credit card needed, and your clients never need an account.
Start free